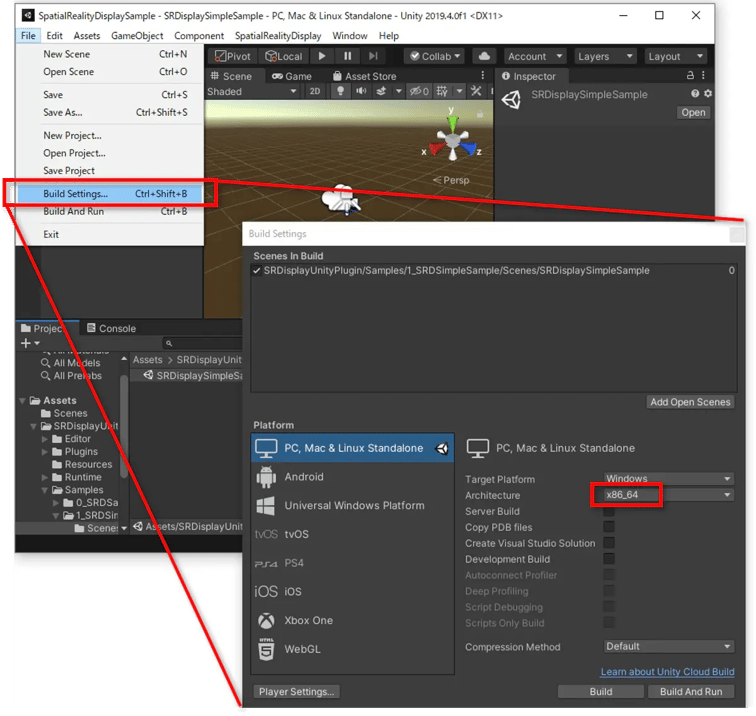








This page shows how to enable Spatial Reality Display in your Unity projects.
Prerequisites
-
Have completed the setup of the Spatial Reality Display (see Setup Spatial Reality Display Settings).
Import Spatial Reality Display Plugin for Unity
-
Download latest srdisplay-unity-plugin.unitypackage
-
Create a new Unity project
Create an appropriate 3D project from the Built-In Renderer Pipeline (BRP), Universal Render Pipeline (URP), or High Definition Render Pipeline (HDRP).
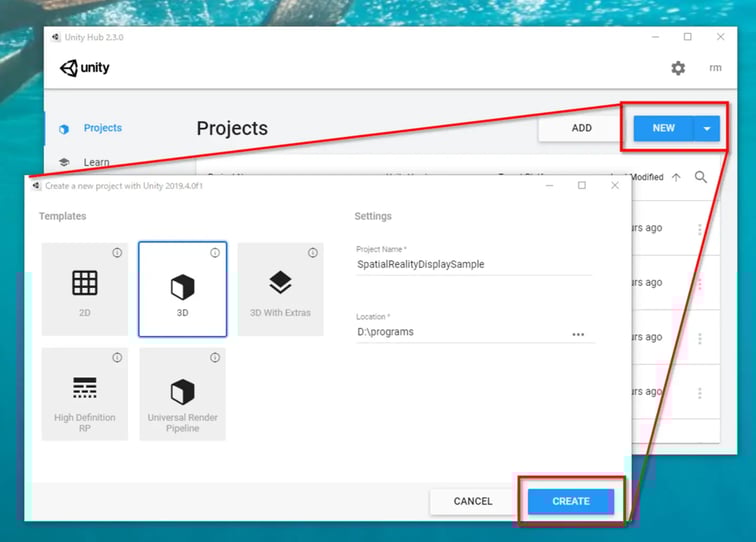
- Import Spatial Reality Display Plugin for Unity
- Select Assets > Import Package > Custom Package and select srdisplay-unity-plugin.unitypackage that you downloaded

-
Or you can drag & drop srdisplay-unity-plugin.unitypackage to Project in the UnityEditor, also.
- Click Import in the Import Unity Package dialog
Make sure that all package options are checked
Caution
When you import srdisplay-unity-plugin.unitypackage to the project that is already imported the package, you may get the error with something like the following dialog.
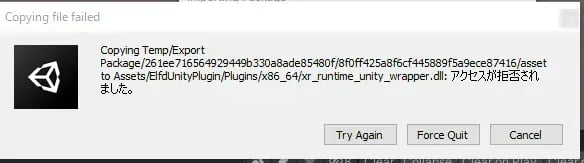
In this situation, you must remove Assets / SRDisplayUnityPlugin with the explore application (not Unity Editor)
- If the architecture of the Unity project is not Intel 64-bit, the plugin will change the architecture to Intel 64-bit automatically. When you find the following dialog, press OK to change the correct architecture.
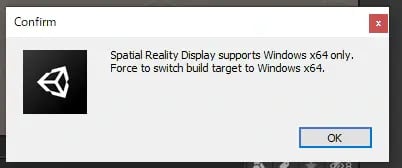
Configure the project settings
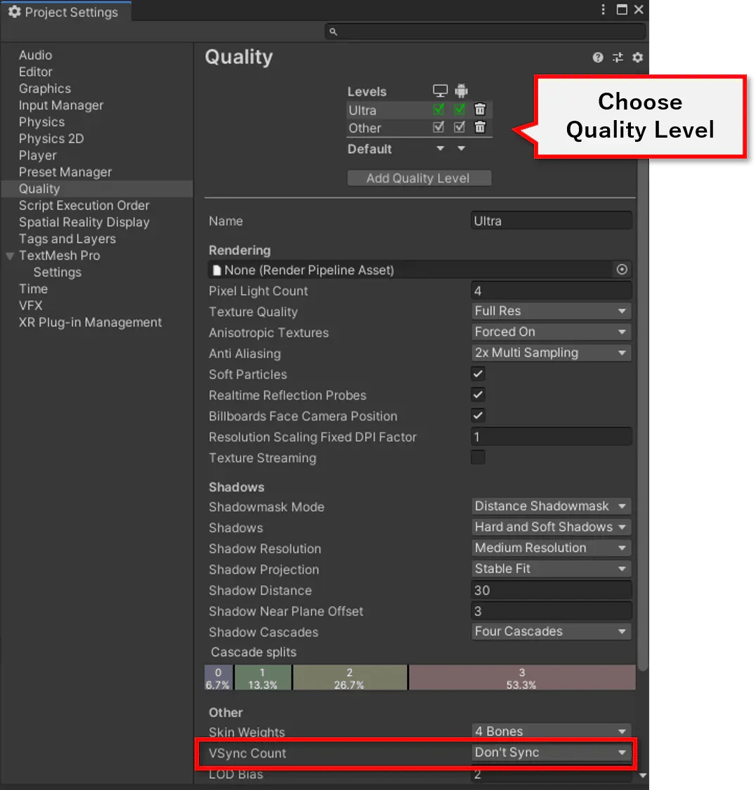
- We recommend to set the VSync Count for all Quality Levels to Don't Sync (See: Minimize the latency for good user experience in Tips and Constraints).
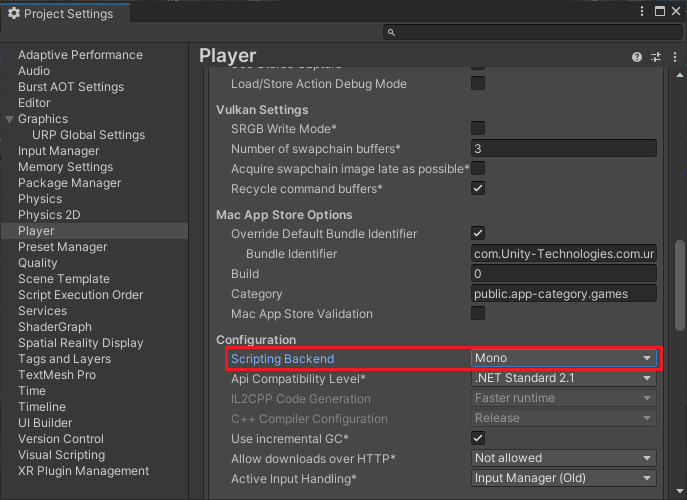
- Only Mono is supported for Scripting Backend. Make sure that Project Settings > Player > Scripting Backend is set to Mono.
Configure the build settings
- Set Target Architecture
- Open Build Settings dialog from File > Build Settings
- Make sure that Architecture is Intel 64-bit